Making Math
          Visible

Winter

Geometric Sculpture II


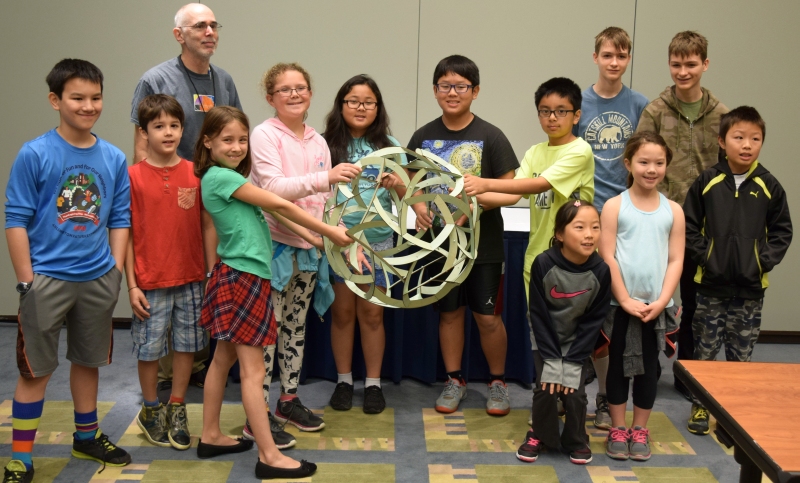
Winter is a geometric sculpture which students assemble from sixty identical laser-cut wood components.  Cable ties are used to connect the parts together.  The construction activity is a fun group exercise in spatial reasoning which makes clear how mathematics can be applied to art, architecture, and design.  The result is a beautiful 24-inch diameter orb that can be displayed in a school or classroom to help make math visible to students and the community.  It will serve as a focal point that sparks mathematical conversations.

We have colored the example above with a solid turquoise stain, but students may prefer to try their own creative coloring ideas.

Time Required:  1 hour for Assembly (not including cutting and optional staining)

Materials:
Notes:
1. This is the second of four related geometric sculpture activities, but can be done first if desired.
2. To get the most from this activity, students should be familiar with the Platonic solids and their axes of rotational symmetry.  We recommend doing that workshop first.
3. Many young students find cable ties challenging.  We recommend this activity for grade 5 through adult.
4. Only 120 ties are needed for the design, but have extras available because some mistakes will be made, which need to be clipped and discarded.
5. If desired, the design can be scaled up to twice the size, using 1/4-inch (6 mm) thick plywood and larger cable ties.
Part A: Preparation

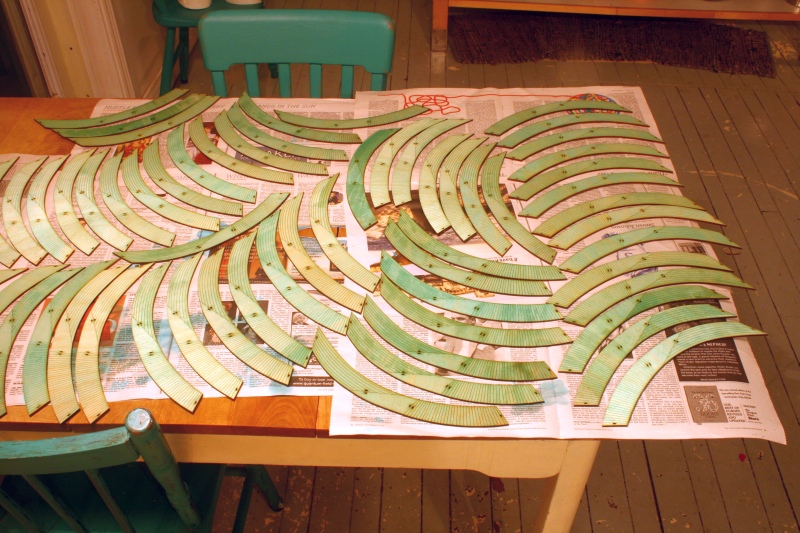
1. Laser-cut the parts, including the etched lines.   Smoke marks can be minimized by applying laser-safe tape to the bottom surface before cutting, or the surfaces can be lightly sanded afterward.  A quick light pass on both sides with an orbital sander (150 grit) removes smoke marks and gives the parts a smooth tactile surface; it is optional, but recommended, if you opt to stain the wood. Unlike the other three sculptures in this series, the edges do not need to be beveled in this design. 


2. Optionally, the parts can be stained.  We used a light turquoise for the example shown above.  Brush on a water-based stain with a foam brush and wipe off the excess with a paper towel.  Let dry.


Part B: Hands-On


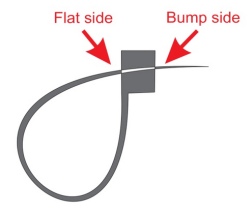
1.  Give students a quick safety briefing about how to use cable ties: Cable ties should only be used for construction and can be dangerous if placed around any part of the body.  If students are unfamiliar with them, you may need to explain how the tip must go in to "the flat side" of the box.  It comes out "the bump side."  And it must loop like a cylinder, not twisted like a Möbius strip.

2.  Organize students in groups of two or three.  Hand out three pieces to each group. Ask students to explore the pieces and how three might fit together to make a module.  


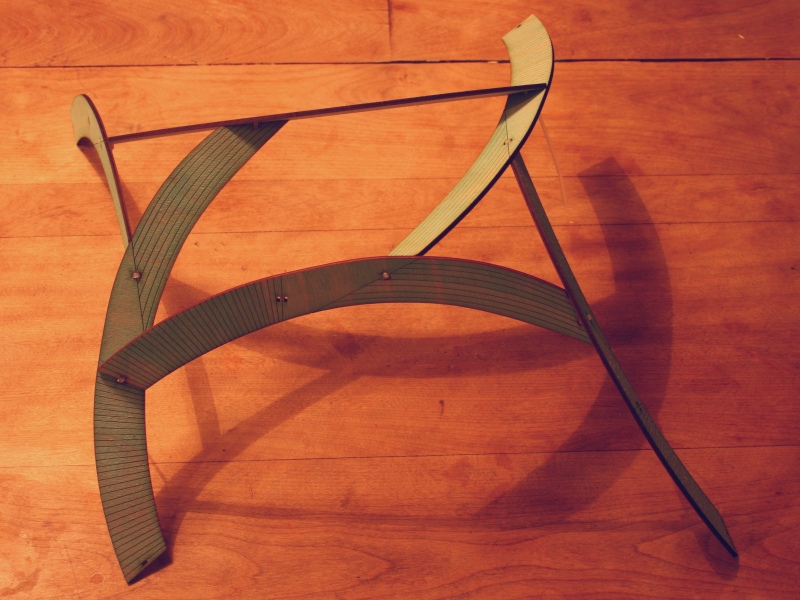
3. In order to familiarize students with the parts, ask them to describe the shape and discuss observations such as the following:  All the parts are identical.  One side has an etched pattern.  The two ends are different, with one end pointier than the other.  The direction of the etched lines can also be used to distinguish the two ends: on the pointy end the lines curve along the length of the piece but on the other end the lines go straight across the piece.  There are four connection points in each part, where a cable tie will be used to connect it to another part. The connection points at the two ends each have a single hole.  The two interior connection points each have a double hole.

4. Explain that we will initially make a module of three pieces with three-fold rotational symmetry.  Students will be joining the pointy end to the interior pair of holes nearest the pointy end.  (The less pointy end and the pair of holes nearer that end are saved for later, when joining modules to each other.)  Holes from one piece must be positioned very near holes from another piece so the cable tie can make a little loop "sewing" the parts together.  The edge at the pointy end meets the back side of its neighbor, not the etched side.  Ask each group of students to explore how the parts might go together.  When they have a solution, they can hold their three pieces together in position and compare it to the rest of the class.  Point out groups with the correct arrangement.  Help everyone see how the holes end up near each other so a cable tie can loop through and hold them together.


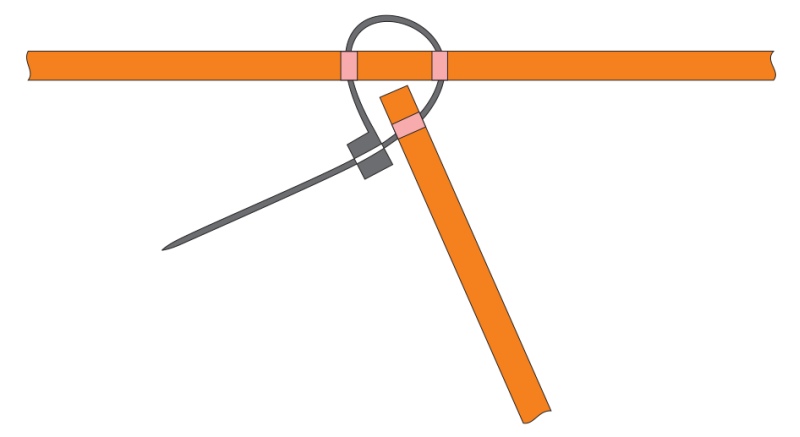
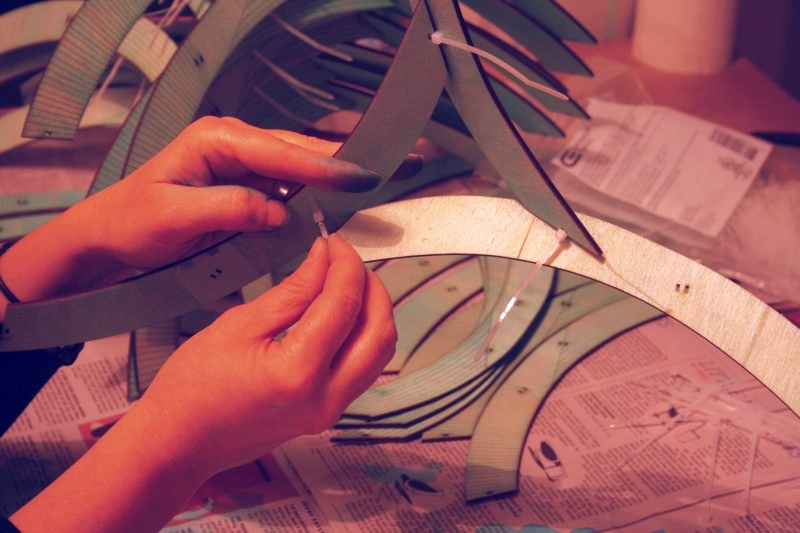
5. When a group has the parts positioned properly, like the triangle shown below, hand them three cable ties so they can connect the parts.  Explain that if they want the box at the end of the cable tie to be hidden, they should begin at the back, the unetched side, which will be more hidden in the final result.  Each tie goes through three holes, making a loop.  A gentle tug while wiggling the tail will snug up the connection.


6. Check each module to ensure the parts are properly joined and the ties are tight.  You can snip off the tails with the wire cutter as a mark of which modules you have checked.


7. Choose a table everyone can see for the assembly.  One way to begin is for two groups to bring their modules and join them to make an "H-unit," shown above, using two cable ties.  They will now be using the less pointy ends of the part and the pair of holes closer to that end.  For this connection, the end meets the front (etched) side of the part, as above.  Again, start the cable tie at the back side of the piece, so the box is largely hidden inside.  A general tip is that some students can hold a piece in position where it is to be attached while other students connect the cable ties. 

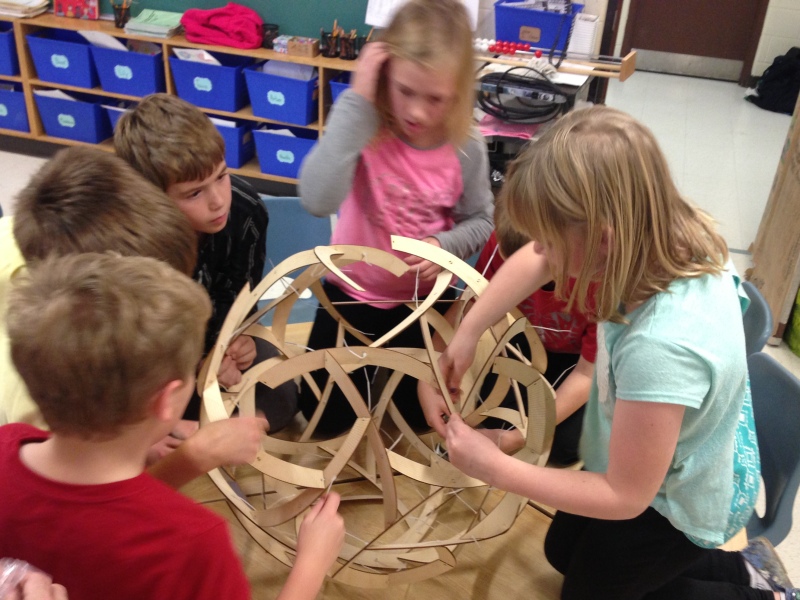
8. The overall process is that a few groups at a time should take turns bringing their modules to the central table where the sculpture is built.  Modules or H-units can be added in many possible orders to a single growing structure.  (It would not work to try making two separate "halves" and hope they fit together!)   It is OK if several groups make H-units separately first, but also leave some modules free to insert individually as the final steps.  During all this time, any group not working on the growing construction at the center of the room can take three more parts and three more ties and make another module, continuing until all twenty modules are complete.
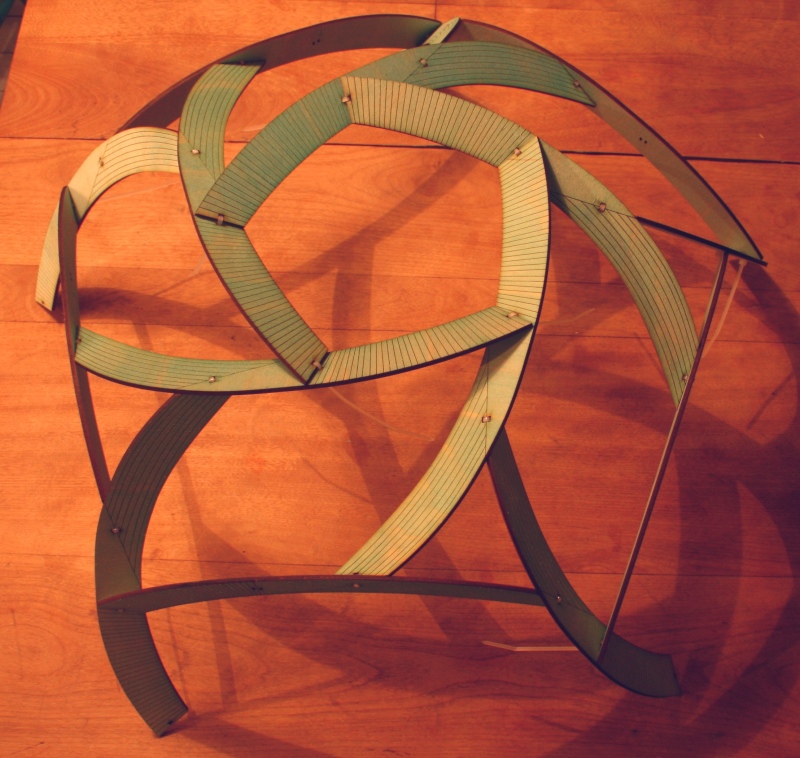


9. Along the way, point out or let students discover that five modules (which might be, e.g., two H-units plus one module) form a pentagonal unit, as shown above. Emphasize the five-fold rotational symmetry.  When at least this much is complete, turn it over so it rests on the pentagon and students can add modules and H-units from all sides at once.  Allow each group to have a turn then make room for others.  Allow them to answer each other's questions about where to connect everything.  Students will see the patterns and figure out how to extend them to complete the sculpture.

10. When complete, check all the connections are correct, all the cable ties are tight, and snip off the ends of the ties.


10. While working, you can ask students who aren't engaged in the construction to figure out how many cable ties are needed all together.  From the fact that there are 60 pieces and each touches four others they should determine there are 120 cable ties.  That's 60·4 = 240 connection locations, but divided by two because each tie joins two connection locations.
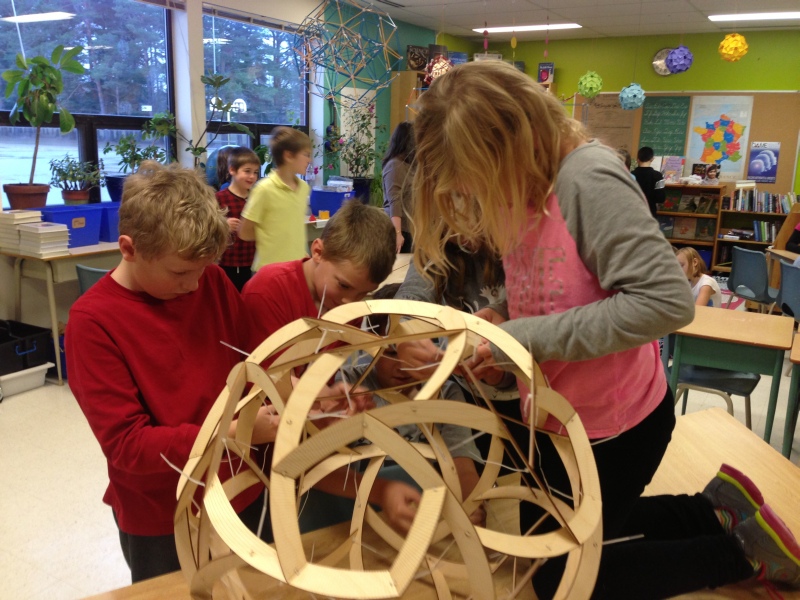


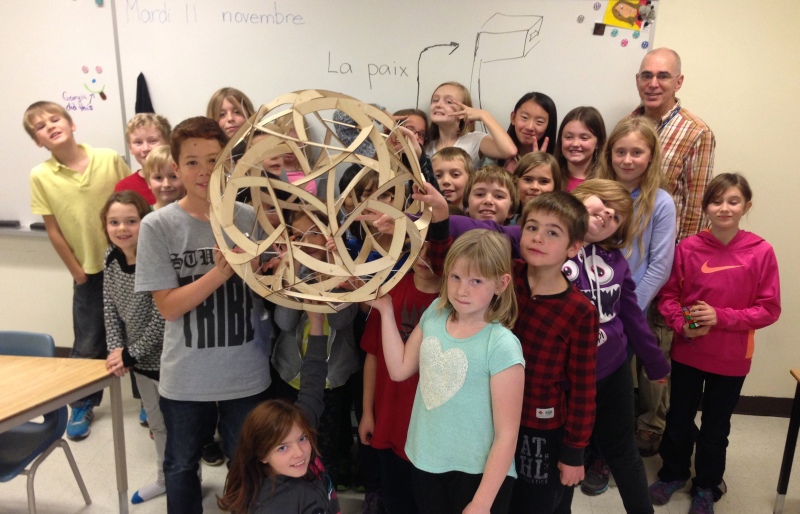
11. Take photos before you  hang it up on display.


Part C. Conclusion

1. Ask students to relate the structure to a Platonic solid.  They should notice there are twelve pentagonal openings, as in a dodecahedron, and twenty triangular openings, as in an icosahedron.  There are also thirty rhombus-like "curvy parallelogram" openings, corresponding to the edges of either of those polyhedra, i.e., each parallelogram lies between two pentagons and between two triangles.

2. Discuss the rotational symmetry axes of the sculpture.  Students should be able to find the 3-fold axes (in the center of each triangular opening or three-part module), the 5-fold axes (in the center of each pentagonal opening), and the 2-fold axes (in the center of each parallelogram or H-unit).  The axes are arranged in the same way as a dodecahedron or icosahedron.  There are ten 3-fold axes, six 5-fold axes, and fifteen 2-fold axes.  These counts are half the numbers of the corresponding openings, because each axis connects two opposite openings.

3. Discuss whether there is any the mirror symmetry in the sculpture.  Students should see that (unlike a regular dodecahedron or icosahedron) there is no mirror symmetry, so the sculpture could have been made in a left-hand or right-hand form. It is chiral and has the same rotational symmetry but not the mirror symmetry of those Platonic solids.  Look at it in a mirror to see what the other handedness would look like; the spirals would go the other way.  An interesting exercise is to visualize that for the other version, the parts would have to be the same shape but etched on the reverse side.  If you took this sculpture apart and used the pieces to make something approximating the mirror image, the etching will be on the inside.

4. Ask students to look for co-planar pieces---more than one part lying in the same plane.  They should observe that each piece has exactly one mate in its own plane, so the sixty parts lie in just thirty planes.  Positioning your eye to be in the plane of a piece and sighting along that plane makes it easy to see the co-planarity.  If students are familiar with the rhombic triacontahedron, you can explain that the thirty planes of the sculpture's pieces are the face planes of an imagined (invisible) rhombic triacontahedron in the center of the orb.


Possible Extensions

A.  Try all four sculpture activities.

B.  Try the Symmetry Search game explained here.


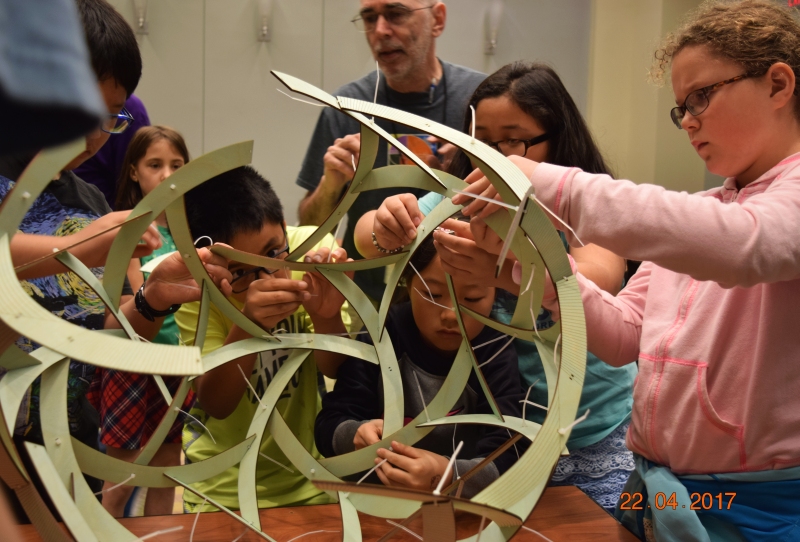
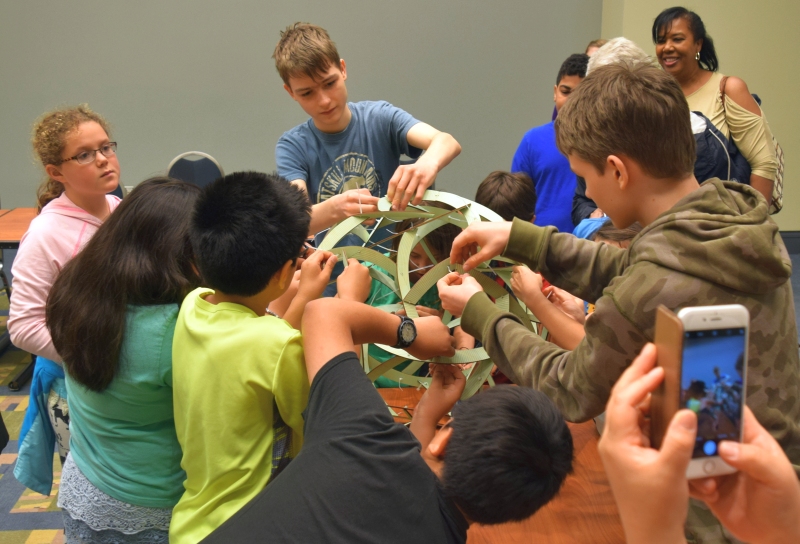
Here are photos of this activity at the 2017 National Math Festival in Washington, DC.


Thank you Sujan Shrestha for these NMF photos.