Other
Isomorphisms. One can explore the idea
of isomorphisms with many other examples. For
older students familiar with exponentiation and
logarithms, one could point out the isomorphism
between multiplication of numbers and addition of
exponents.
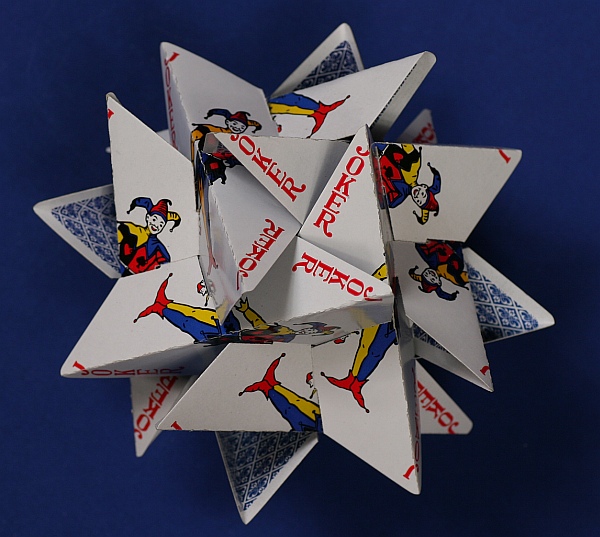
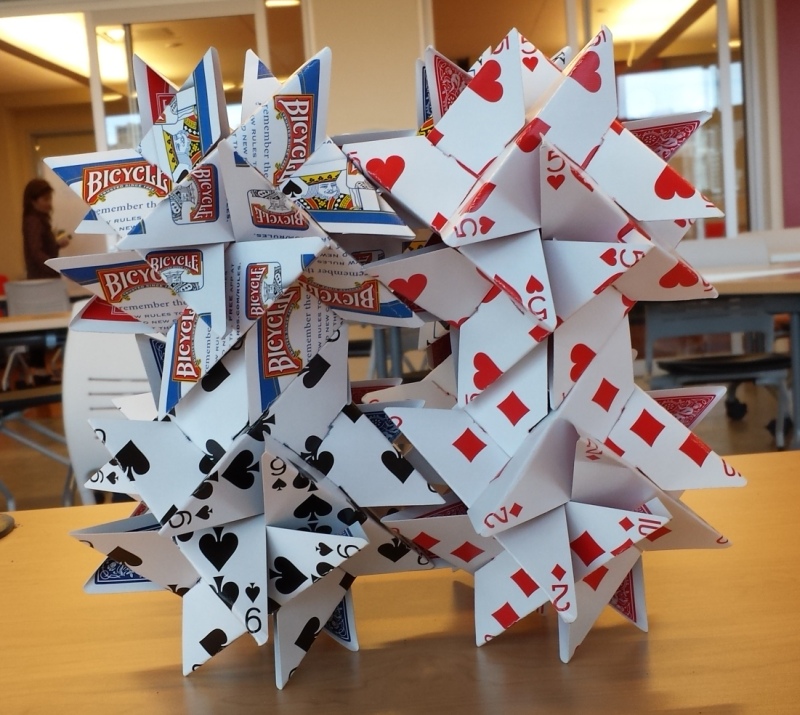
[Future Idea:
Something related to the fact that the form
derives from the third stellation of the rhombic
dodecahedron...]