
Super SOMA
Super SOMA
This activity
provides rich classroom material for teachers following the Common Core
Standards for Mathematical Practice. This lesson
also provides cross-curricular connections to art and
architecture.
It works best if the cubes really are cubes. Wood "cubes" can be found at Dollar Stores and other sources, but beware that some are not perfectly cubical and would affect the quality of the fit.
Glue brushes work better with
older students. Two methods are presented below for gluing,
one with and one without brushes.
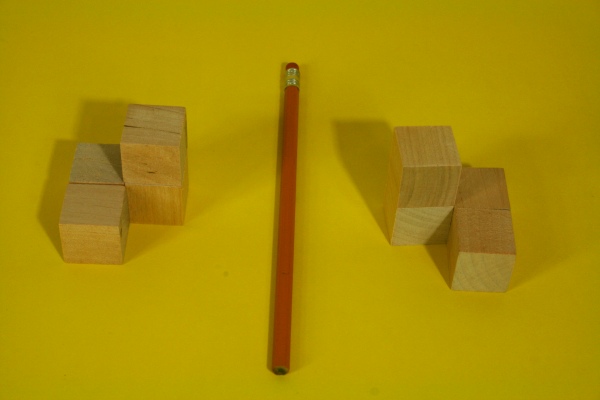
Brushing Method. Using a small paint brush, apply a thin layer of glue to entirely cover each of the two faces that will be joined. The thinner the layer of glue, the better, because it will dry faster and look neater. This method works best with older students who are comfortable using a brush.Have students make each module, incrementally adding one cube at a time. Check carefully that cubes join together perfectly face-to-face. Misaligned cubes would cause problems later when building larger constructions with these modules. With younger students, teachers should check each piece and realign them if necessary before the glue dries. Double check the two mirror-image pieces. The modules should just sit on the desks, held together by gravity while the glue dries.
Dipping Method. Squirt a small puddle of glue on to a scrap of cardboard or heavy paper. Dip one of the two faces to be joined into the glue. Rub it against the mating face and swirl them so both faces are entirely covered with glue.
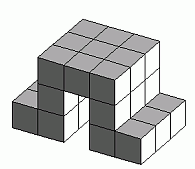
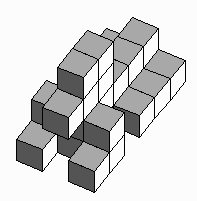
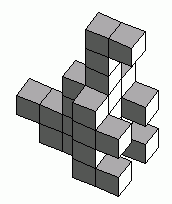
Student Design Challenge. Ask students to design
their own shapes and challenge each other to recreate them.
Multiple Set Constructions. Students can combine
two or more sets to create larger constructions.
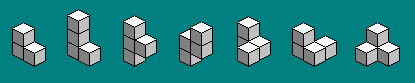
Connection to Tetris and Minecraft. The rules
above lead to these seven pieces, but students can explore other
rules of their own choosing and see what shapes can be created
following those rules. For example Tetris allows all
shapes, including rectangles, with exactly four cubes, but they
must lie in a plane.
Other Materials. Make a SOMA set in some
other material, e.g., you can use 3D design software and make a
set on a 3D printer.
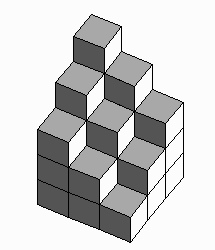
Additional Analysis. The possible 3x3x3
solutions can be analyzed with simple arguments. For
example, by considering which pieces can cover the eight corners
of a cube, you can show that the "T" shaped piece must always be
placed with its row of three cubes along an edge of the
3x3x3 cube, and there are no solutions with it along the middle
of a side or through the center of the 3x3x3 cube. See Winning
Ways for your Mathematical Plays (Academic Press, 1982) by
Elwyn R. Berlekamp, John H. Conway, and Richard K. Guy.
Free Time Activity. If the SOMA sets are kept in
the classroom, young students can enjoy playing with them during
periods of free time.
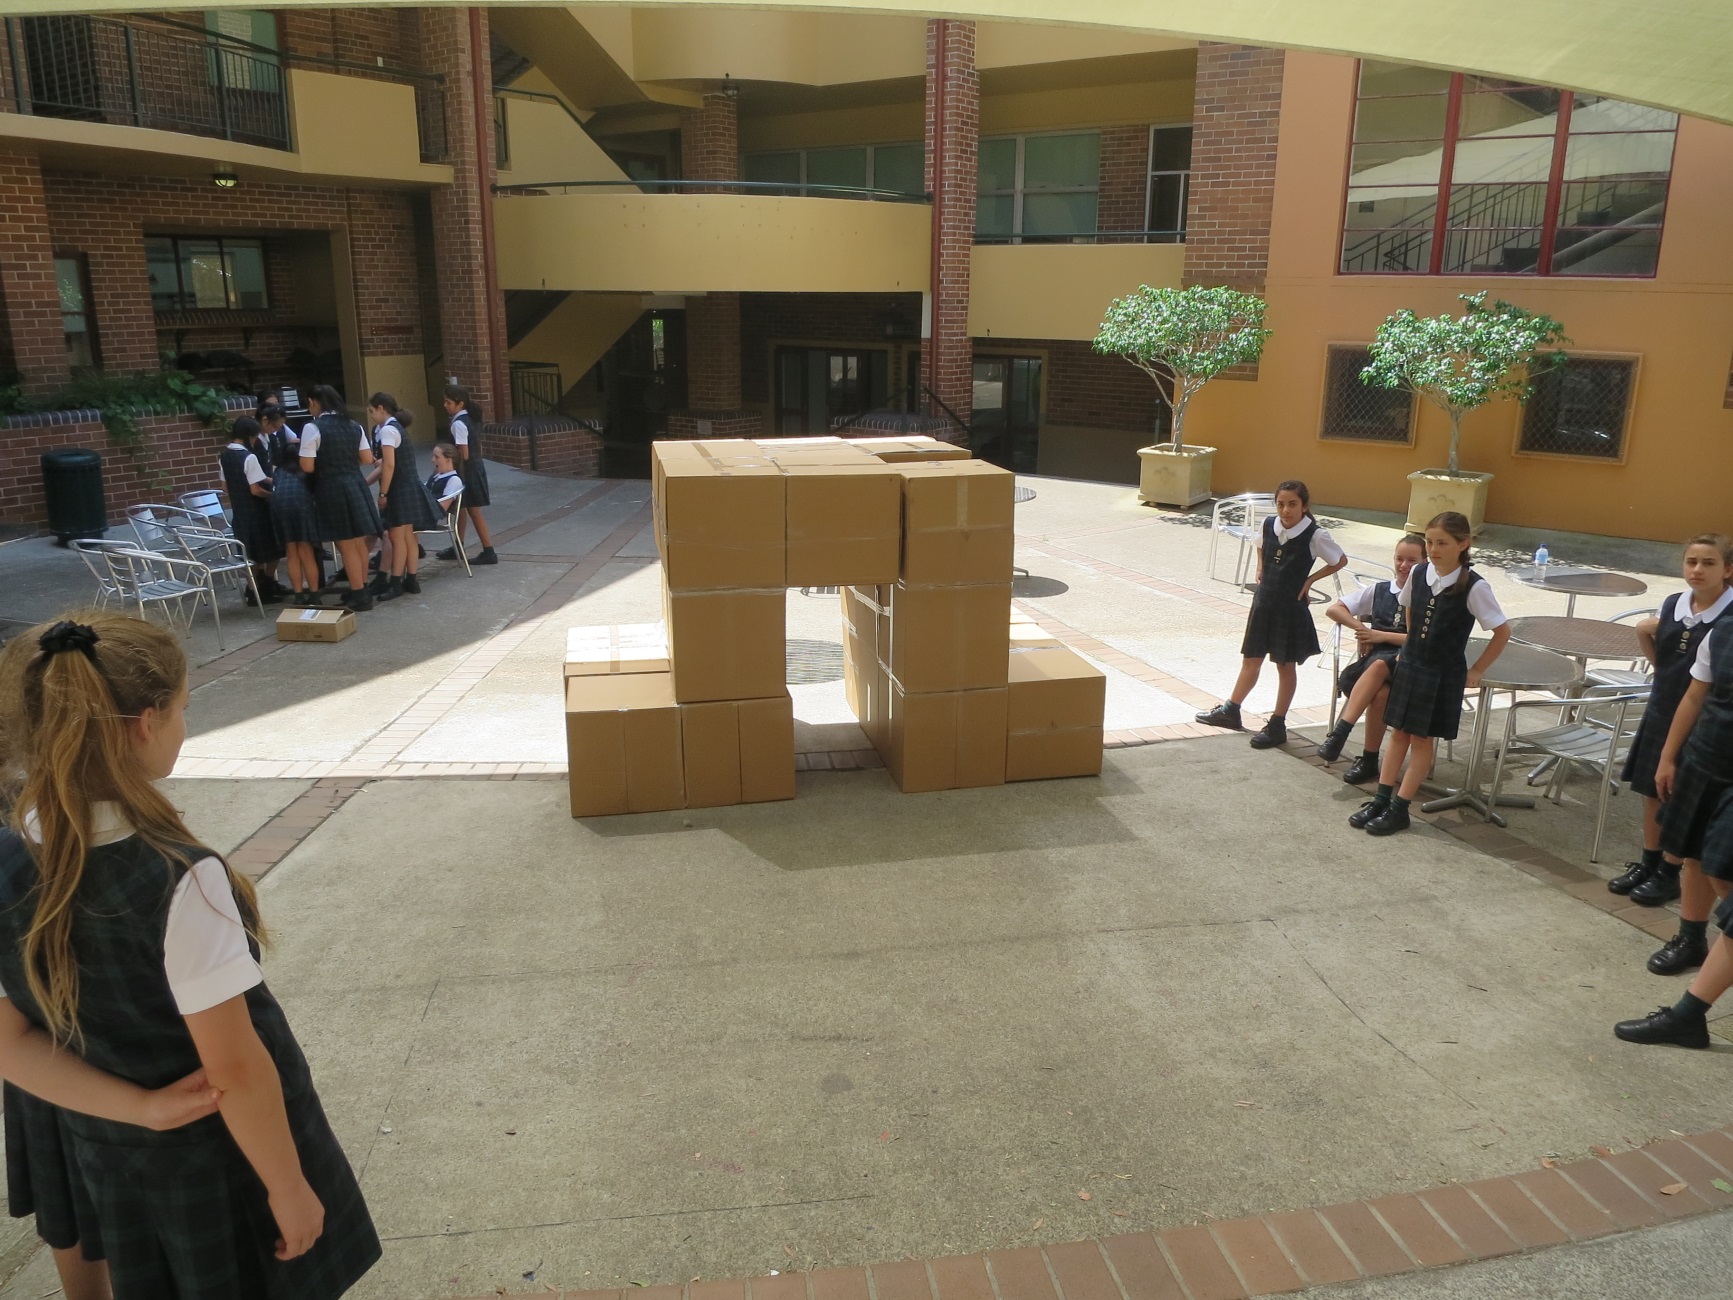
Steps
1. Show students how
to build one box. When closing each end of the box, apply
tape not just across the center seam but also to the two
sides. Tell students never to sit on the boxes.
2. Ask students to
work in groups to make the 26 remaining boxes.
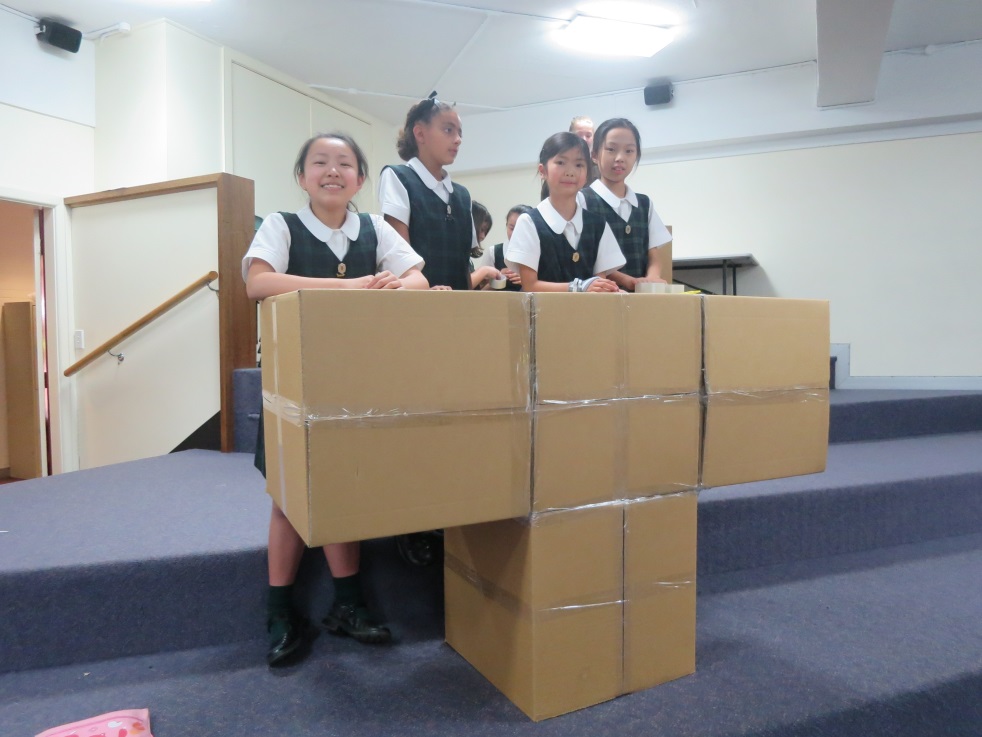
3. Divide the class
into seven groups. Hand each group a wood SOMA piece which
they will scale up to a large size. The trickiest pieces to
assemble are the two mirror-image ones. Remind those groups
to be extra careful. Each group will take three or four
boxes to make their piece. Ensure when joining two boxes
that the faces mate square-to-square without offset. It is
something of an engineering challenge to get the tape to hold
well. Group work is important. Two students can hold
boxes together while a third student runs tape along the
joints. Sometimes it helps to also run a band of tape all
the way around the middle of two boxes, like gift-wrapping
ribbon. After applying the tape, a useful trick is to rub it
with the back of the fingernails (or other hard object) to create
a stronger bond between the tape and the cardboard.
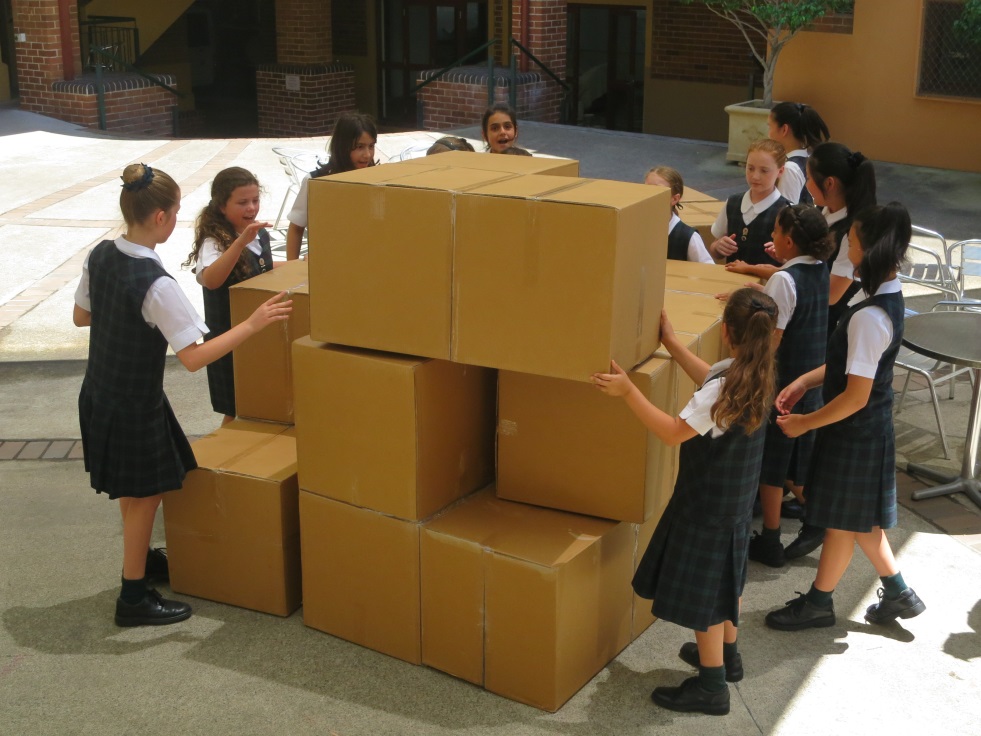
4. After students walk
around to check that all seven pieces are correct, it is time to
build the giant cube. All the students can help in putting
it together.
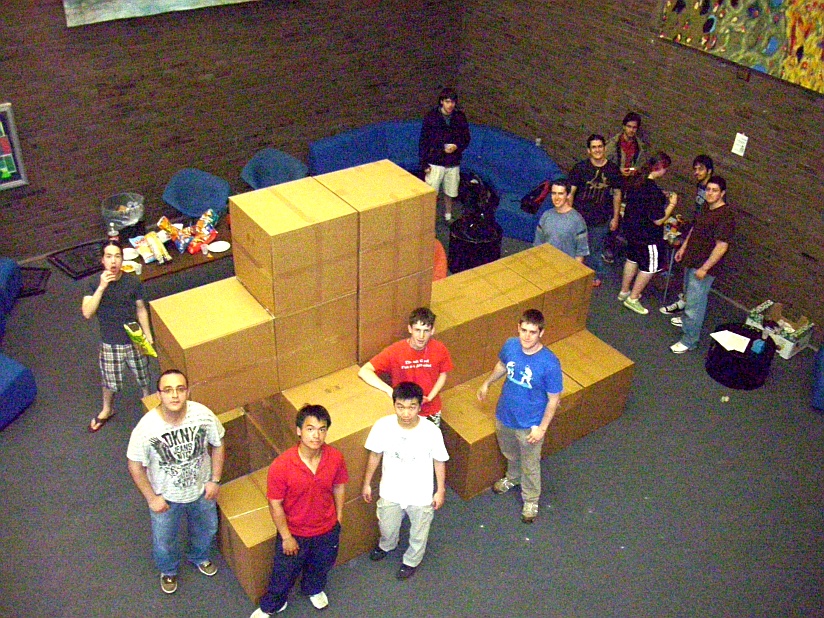
5. Through
communication and teamwork, students can work on a series of
large-scale SOMA challenges that they choose.
6. An excellent
communication exercise is to ask a student to choose a model, make
it with the small SOMA, and then give blind instructions to the
group to replicate it on the large scale. This will lead
them to understand the value of clear communication, nomenclature,
and geometric description. Students will realize the
importance of naming each piece and using precise language for
describing intended rotations.
The Wood SOMA
extensions listed above also work on this larger scale.
Big Thing each Day.
If you keep the giant SOMA in your classroom or have a public
place in the school for displaying it, it is fun to have students
change the shape regularly. Daily or weekly a different
group of students or staff might have a turn at choosing and
building a new construction. This is a great way to make
math come to life in a visible way.
Decoration.
Graffiti, paint, stickers, etc. can be applied imaginatively.