Time Required: 1.5 hours
Materials:
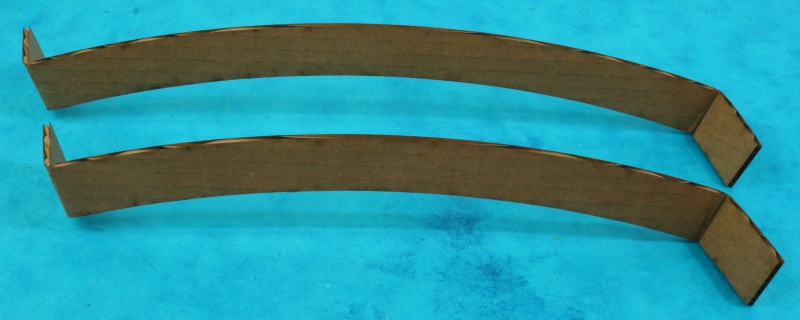
- Corrugated cardboard cut with long strut template (35
struts)
- Corrugated cardboard cut with short strut template (30
struts)
- Glue (for wood or paper)
- 6 Glue brushes
- 150 Clothespins or other clamps such as black binder clips
- Optional Zometool
Notes:
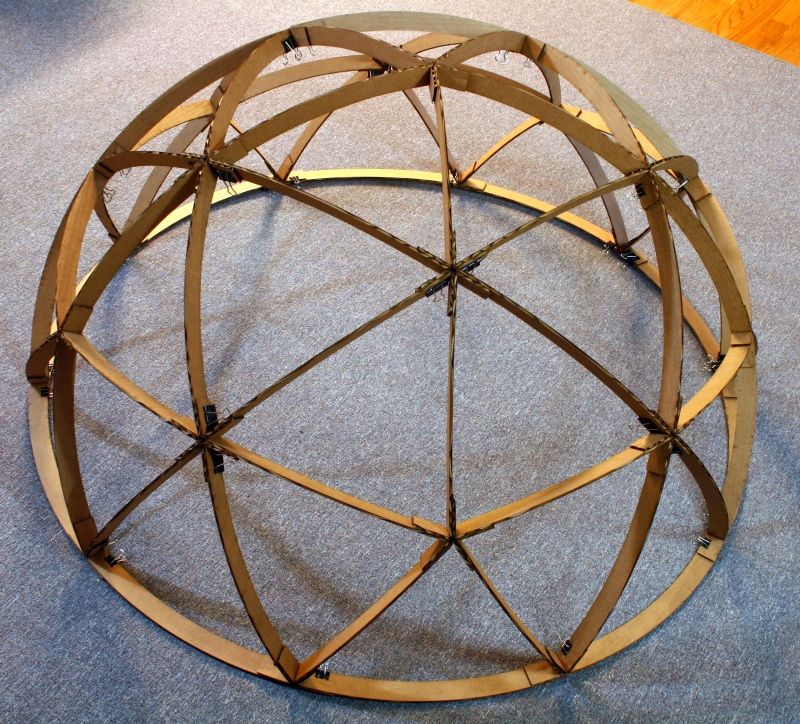
1. The paper dome workshop is a great introduction to this
activity and should be done first as it provides all the
necessary background.
2. The template files are scaled for a dome four feet in
diameter. They can be scaled for other sizes, but both
files must be scaled the same amount.
3. The cardboard struts can be cut with a band saw or
laser-cutter. The laser-cutter file includes a dotted line
for folding. If using a band saw, mark the fold line by
hand.
4. The biggest challenge will be to keep track of the two
different lengths of struts, as they are similar. You may want
to make the difference clearer by color coding with a marker or
sticker.
5. Medium-size black binder clips work well to hold the parts
while the glue is drying but may be difficult for younger
students to open.
6. Zometool is an ideal manipulative for illustrating the
structure of domes. It has exactly the lengths and angles
required for this particular structure. If you don't have
Zometool, you can improvise with other strut-and-node systems,
such as straws and pipe cleaners, or toothpicks and
marshmallows.
7. Students can work in groups of two to five.
Part A. Minds-On
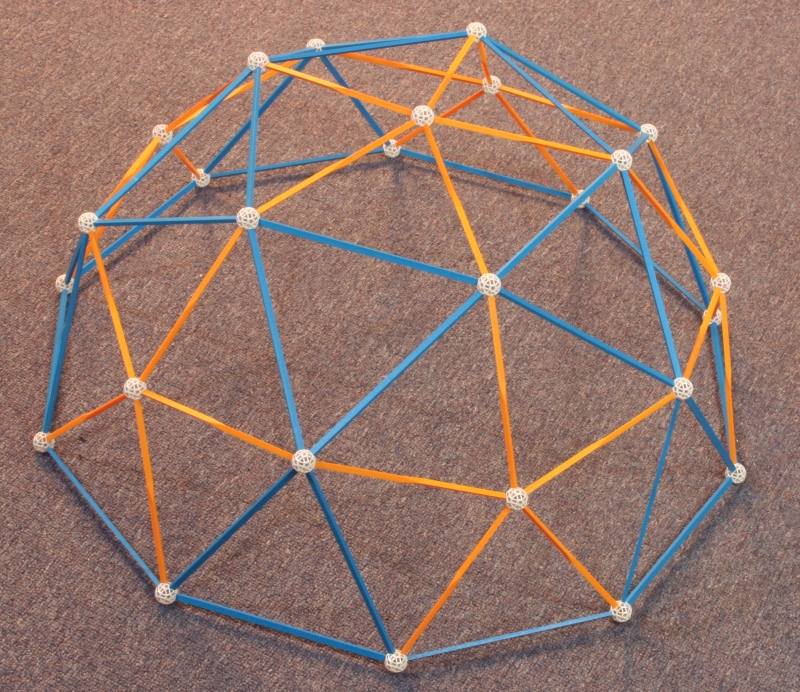
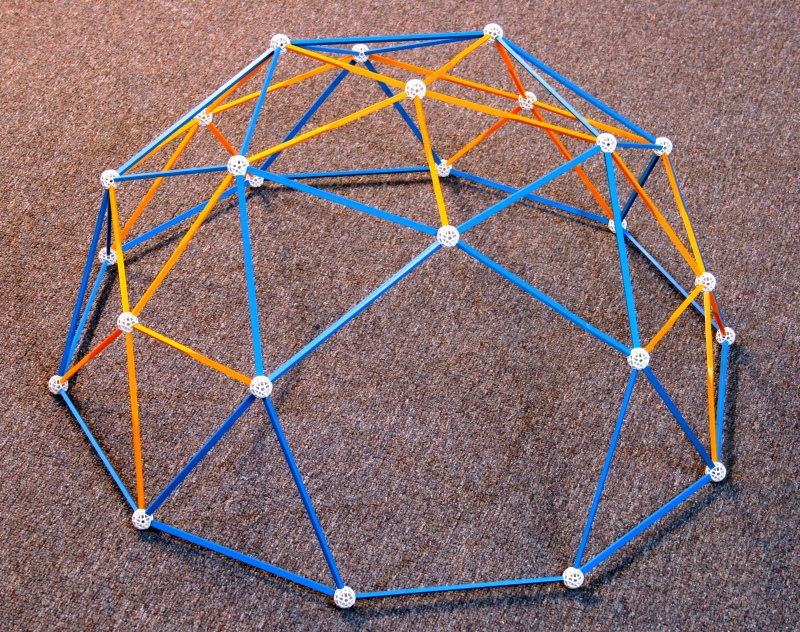
1. Hand out blue and yellow Zometool struts and a supply of
connector balls. Giving as little instruction as possible,
refer back to the paper dome and ask students to make a
structure that is isomorphic to it using the Zometool
materials. They will discover that the yellow struts are
slightly shorter than the blue struts and will conclude that the
yellows should meet five at a vertex, with a blue pentagon
surrounding.
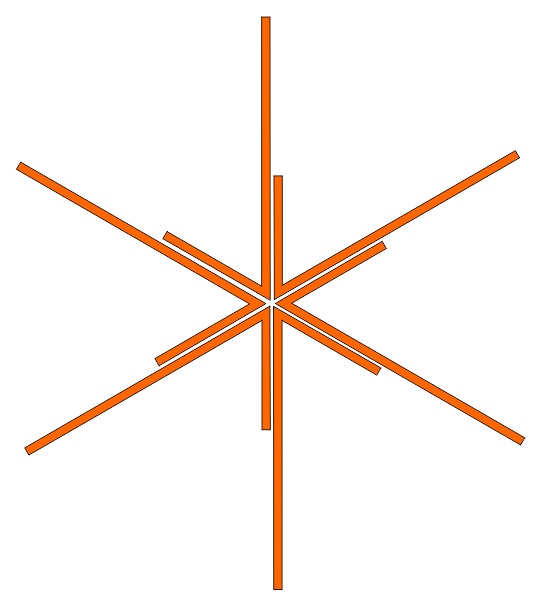
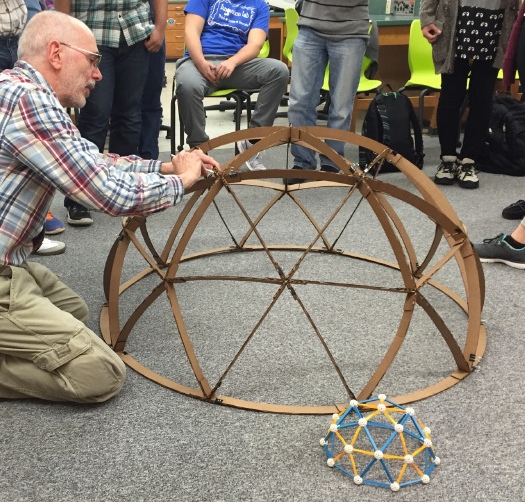
2. Discuss and review the structure and geometric properties of
the dome. In the image above, the yellow struts correspond
to the edges of the underlying icosahedron. The blue
struts correspond to the colored lines that were drawn to create
half-size triangles.