Making Math
          Visible

Thing-1


This giant cardboard construction is hard to characterize.  Assembling it is a mathematical group exercise that is partly a puzzle and partly a sculpture, while presenting a series of fun spatial reasoning challenges on a large scale.  Displaying it is a perfect illustration of how math can be made visible.  The image above is from the 2017 National Math Festival in Washington, DC.

Time Required: 60 Minutes (not including preparation cutting out the parts)


Materials:
 Notes:

1.  This is one in a series of cardboard construction workshops.
2.  You can scale up the template for a proportionally larger model.  The 18-inch part of the template results in the four-foot diameter construction shown here, but you can scale it up 50% for a six-foot version.
3.  Cardboard is surprisingly strong and long-lasting as long as it does not get creased or wet.  If suspended out of harm's way, this construction can last for years.

Preparation


1. Cut out sixty parts.  This is easy if you have access to a laser-cutter, which can both cut and score.  Set the power level for the score lines so it cuts through only the top layer of the cardboard, making a natural hinge.  You can also can cut the parts in stacks on a band saw or scroll saw, in which case you might want to leave out the two interior holes and the score lines can be partially cut with an X-acto knife guided along a metal ruler. 

2. Be sure the alignment line (the black line in the template) is clearly marked.  This can be done with a pencil.  If using a laser cutter, do not score this line for a fold.


Part A.  Minds-On

1. Review the dodecahedron or construct one if students are not familiar with it.  (Use paper, Zometool, Polydron, straws and pipe cleaners, etc.)  Discuss the structure, the number of faces, vertices, and edges, and how they connect.


Part B.  Hands-On

1. Divide the class into groups.  Hand out five parts and five clamps to each group.  Advise students not to fold the cardboard except on the three flaps, as additional folds would weaken it. 

2. Ask students to examine the parts and discuss their connection possibilities, but not to clamp anything yet.  They should notice there is one tab at each end plus a tab on the central prong.  Each tab naturally folds back in the same direction.  There is also a line marked on each part near the central prong.  The long, medium, and short lengths of the flaps and straight segments should suggest what will connect to what.

3. Ask students to fold all the flaps down.  The edge of a table can be used as a guide for a crisp crease.  Check the flaps are all folded the same way.


4. The easiest way to assemble everything is to make modules which are each a cycle of five parts, connected only near the center.  Instruct each group to make a cycle of five as shown.  Be sure to align the fold line of the tab of each part to the marked line of the next. The tab on the central prong is folded almost all the way back, so it is hidden.  When correct, students can use five clamps to join the parts.  The image above left shows the inside, with the points down on the floor, so the tabs and alignment line are not visible.  The image above right shows how it looks from the outside.  There are ten unconnected flaps near the outside that will be used to connect modules to each other: a small inner one and a larger outer one at each of the five corners.  The module is very flexible (until connected with its neighbors) so handle it gently.  Check that the modules look like the photos above.

5.  Hand out glue palettes and glue brushes.  Squirt some glue on each palette.  Explain that students can remove one clamp at a time, brush glue on the flap, and replace the clamp, being sure to line up the fold line with the marked line.  A very thin layer of glue will suffice; more just makes a mess and takes longer to dry.

6. Explain that we will think of each module as a large pentagon and make a structure analogous to a dodecahedron, but for each three-fold vertex of the dodecahedron, there will be two three-fold joints: a small one on the interior and a larger one on the exterior. 


7. Place one module with its large points down on the floor (or a table).  Add a second module by making four connections: two smaller inner flaps and two larger outer flaps.  In each case, a flap joins to the straight edge of the other part.  Use clips to join them, staying away from the point.   The image above shows one module down on the floor and one added to the right side.


8.  Point out that we can put the flaps inside the adjacent part, so the flaps will end up largely hidden from the outside.  In the image above, you see the flaps because the camera is on the inside.


9. Continue around the bottom module, adding new modules one at a time until there are five modules around the base, making a bowl-like construction.


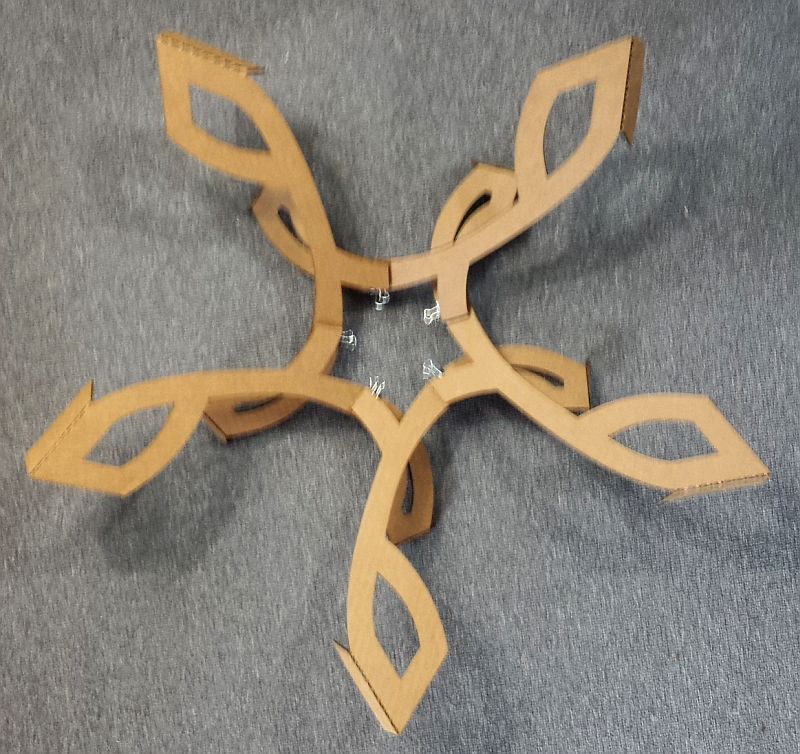
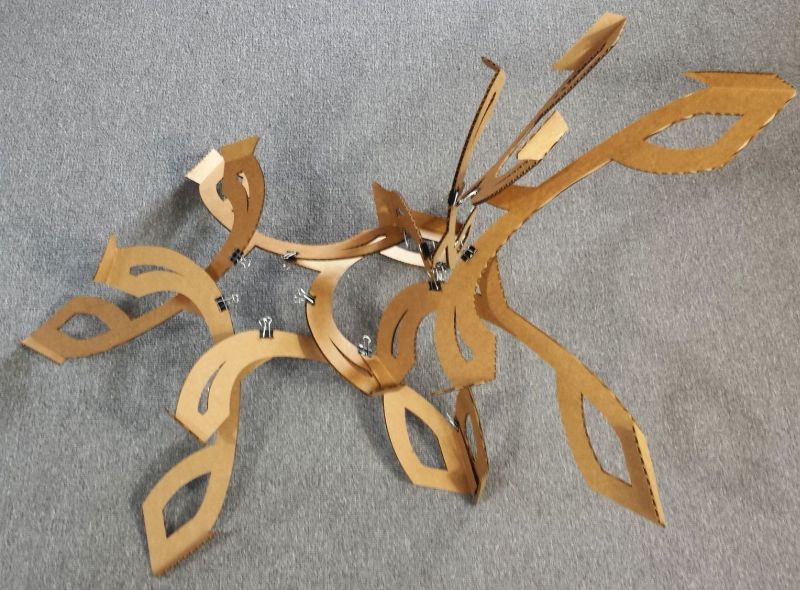
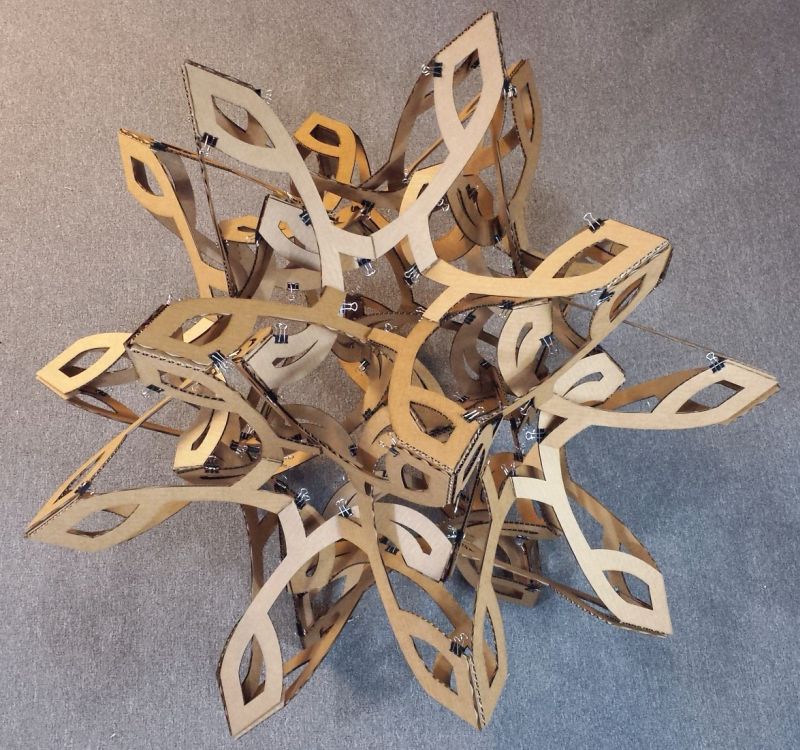
This is half the dodecahedron. 


You will complete the three-way joints of the five lower points that touch the floor.

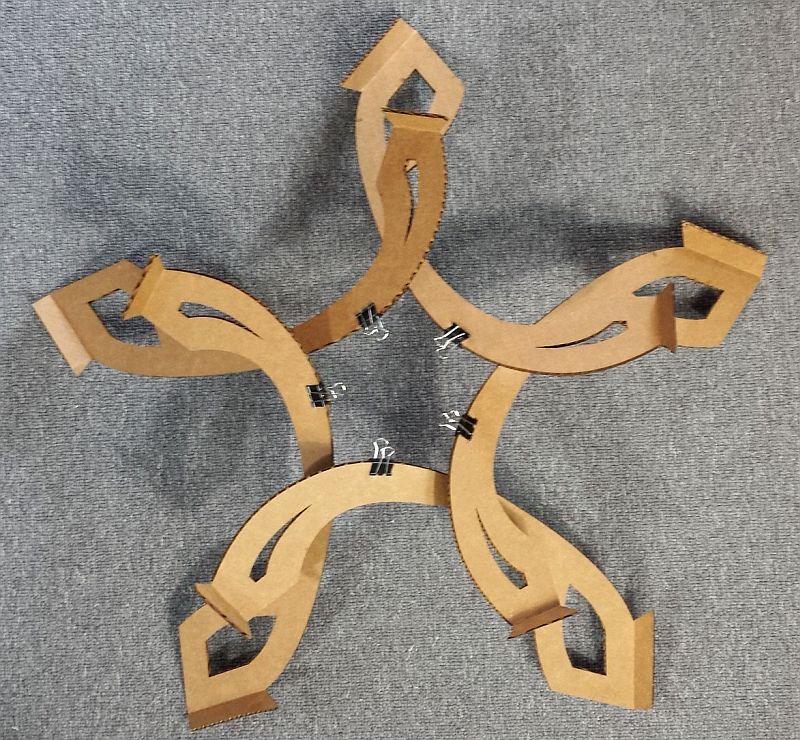
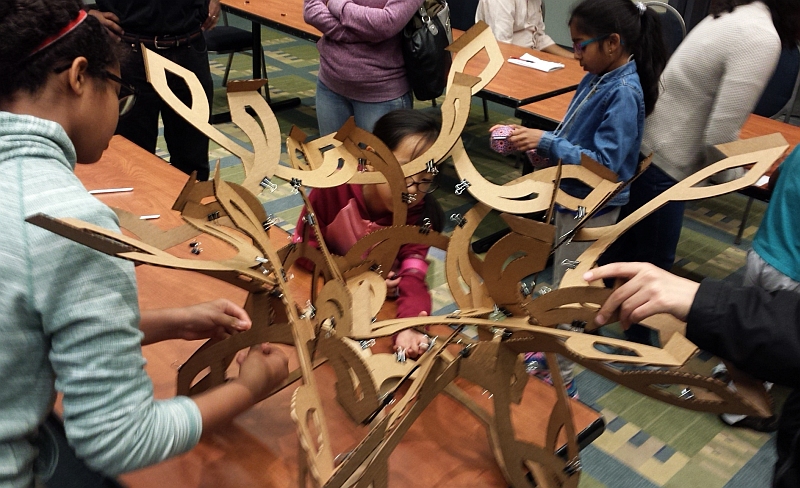
10. In the same way, make a second "bowl" of five modules around one.  This can be done in parallel in a separate part of the room.


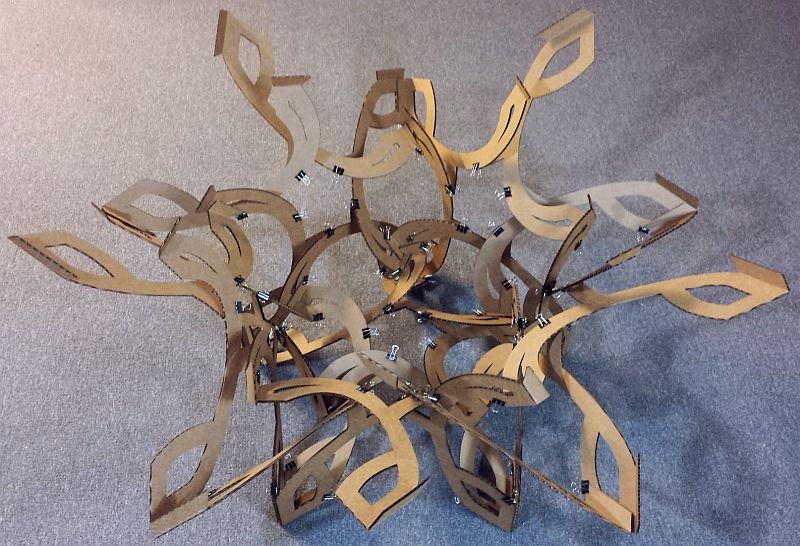
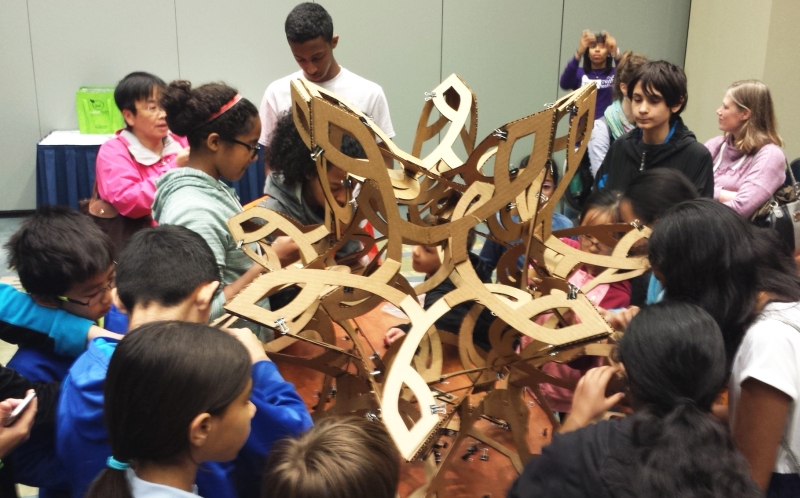
11. Place the second bowl on top of the first one.  You may have to rotate it a bit to find the position where all the 
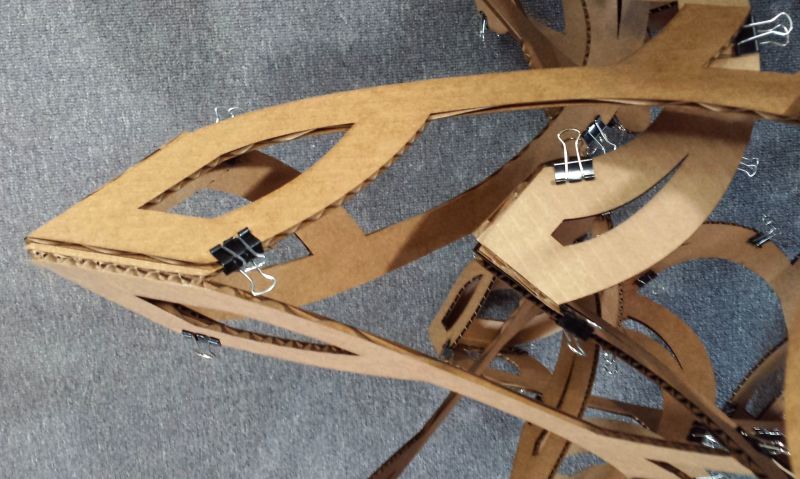
remaining parts connect.  Join all the cardboard flaps, tucking them in to be hidden on the inside, before clamping them.


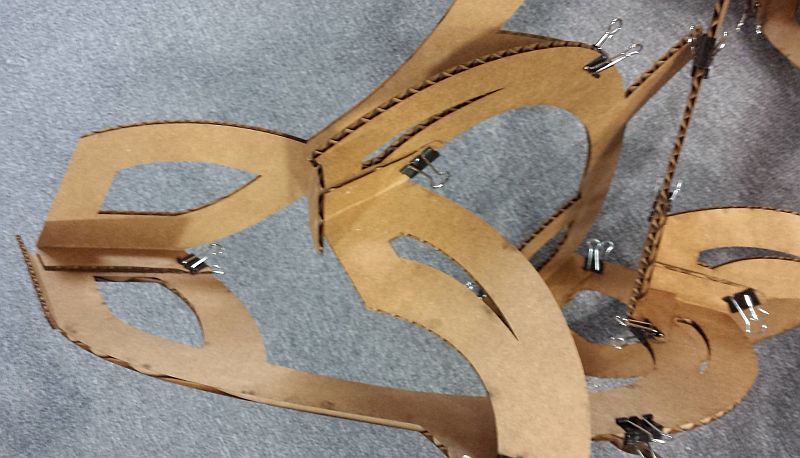
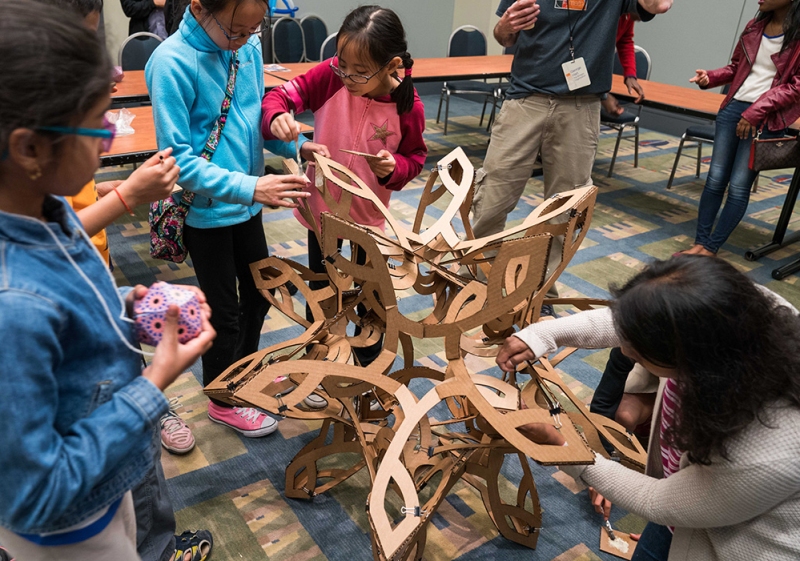
12. Ask students to remove three clamps at a time, at one three-fold joint, brush glue on the flaps, and replace the clamps. One handle on the clamp can be folded flat as a mark that the corner has been glued.  Students can work from all sides, locating any unmarked corners that need glue to work on. 


It is easier to keep track of things if you first do the outer twenty vertices, then do the inner twenty.  It is physically easiest to work just on the top half, then turn it over to do the other half. 


13. After the glue dries (typically 15 minutes) the clamps can be removed.


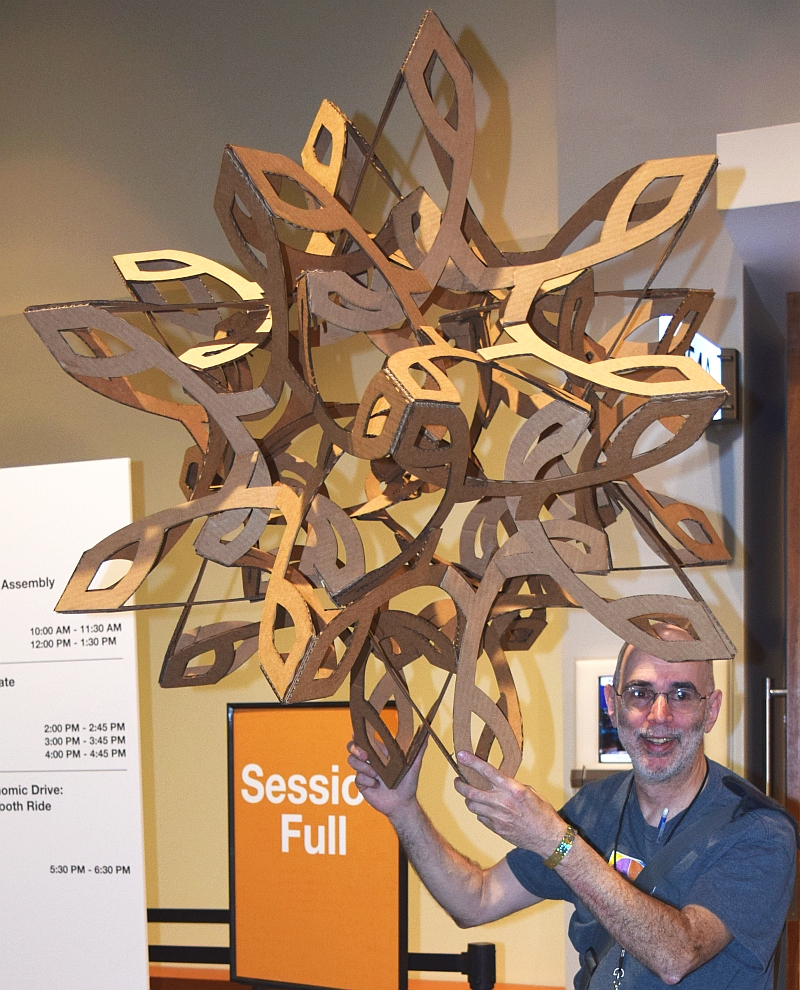
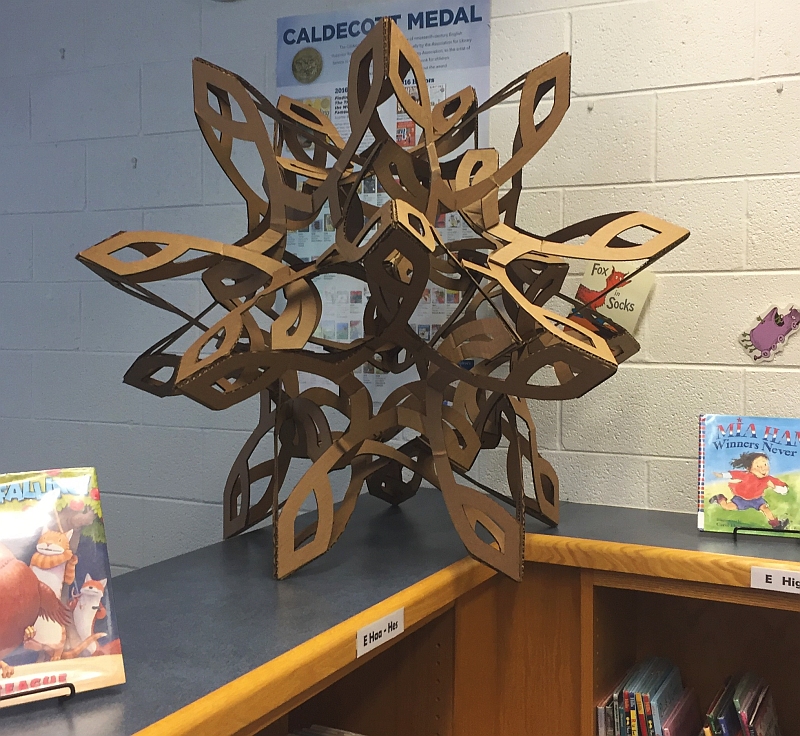
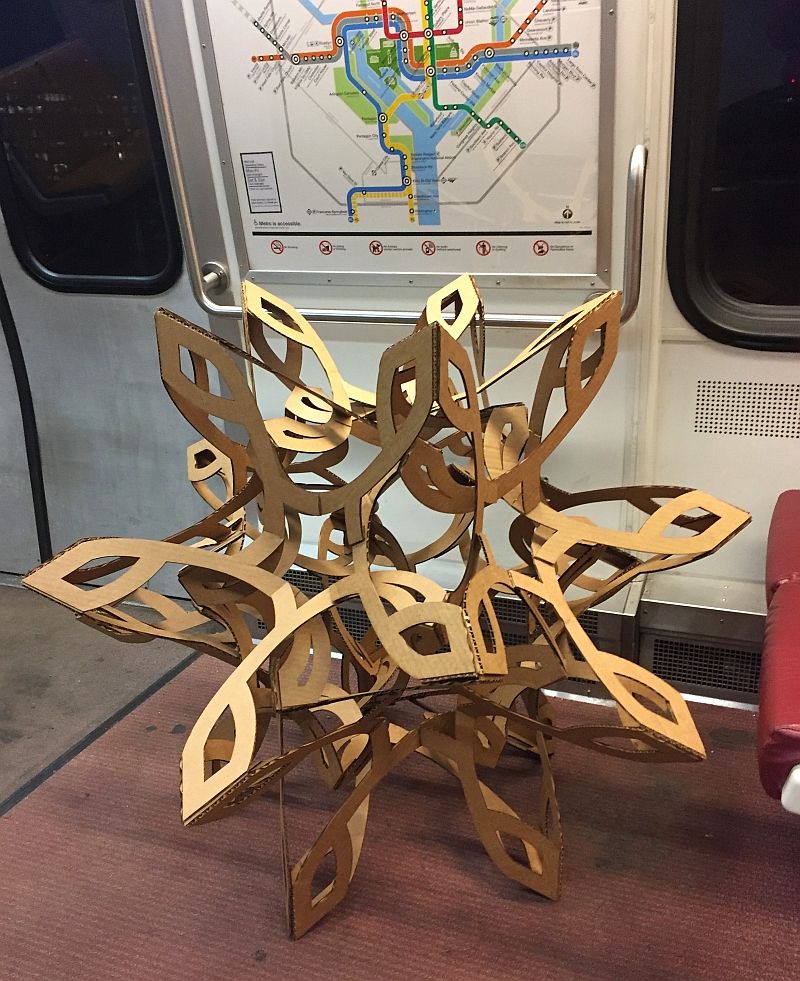
14. Display the completed construction somewhere very visible.  (You could hang it by a string from one of its corners.  Or take it for a ride on the Metro...)


Part C. Conclusion

1. Students should be able to see how the design relates to a dodecahedron, but has an inner and outer layer for the vertices.  They may also notice how pairs of parts are co-planar.  The inner vertices are each like the corner of a cube, with three 90-degree angles and 90-degree dihedral angles.

 
Possible Extensions

1. Students who have done the Design-Your-Own-Sculpture activity might also observe how four of the lines align to the edges of a 63.5 degree rhombus.  The design can be understood as a variation on Autumn (and the pentagonal hexecontahedron) that includes an inner part which extends beyond the rhombus.  You can create your own variations of this design which go beyond the rhombus in your own way to reach the "cube corner".


Note: The design underlies this sculpture. It is its "spherical foundation" before being compressed by scaling to an oblate form.